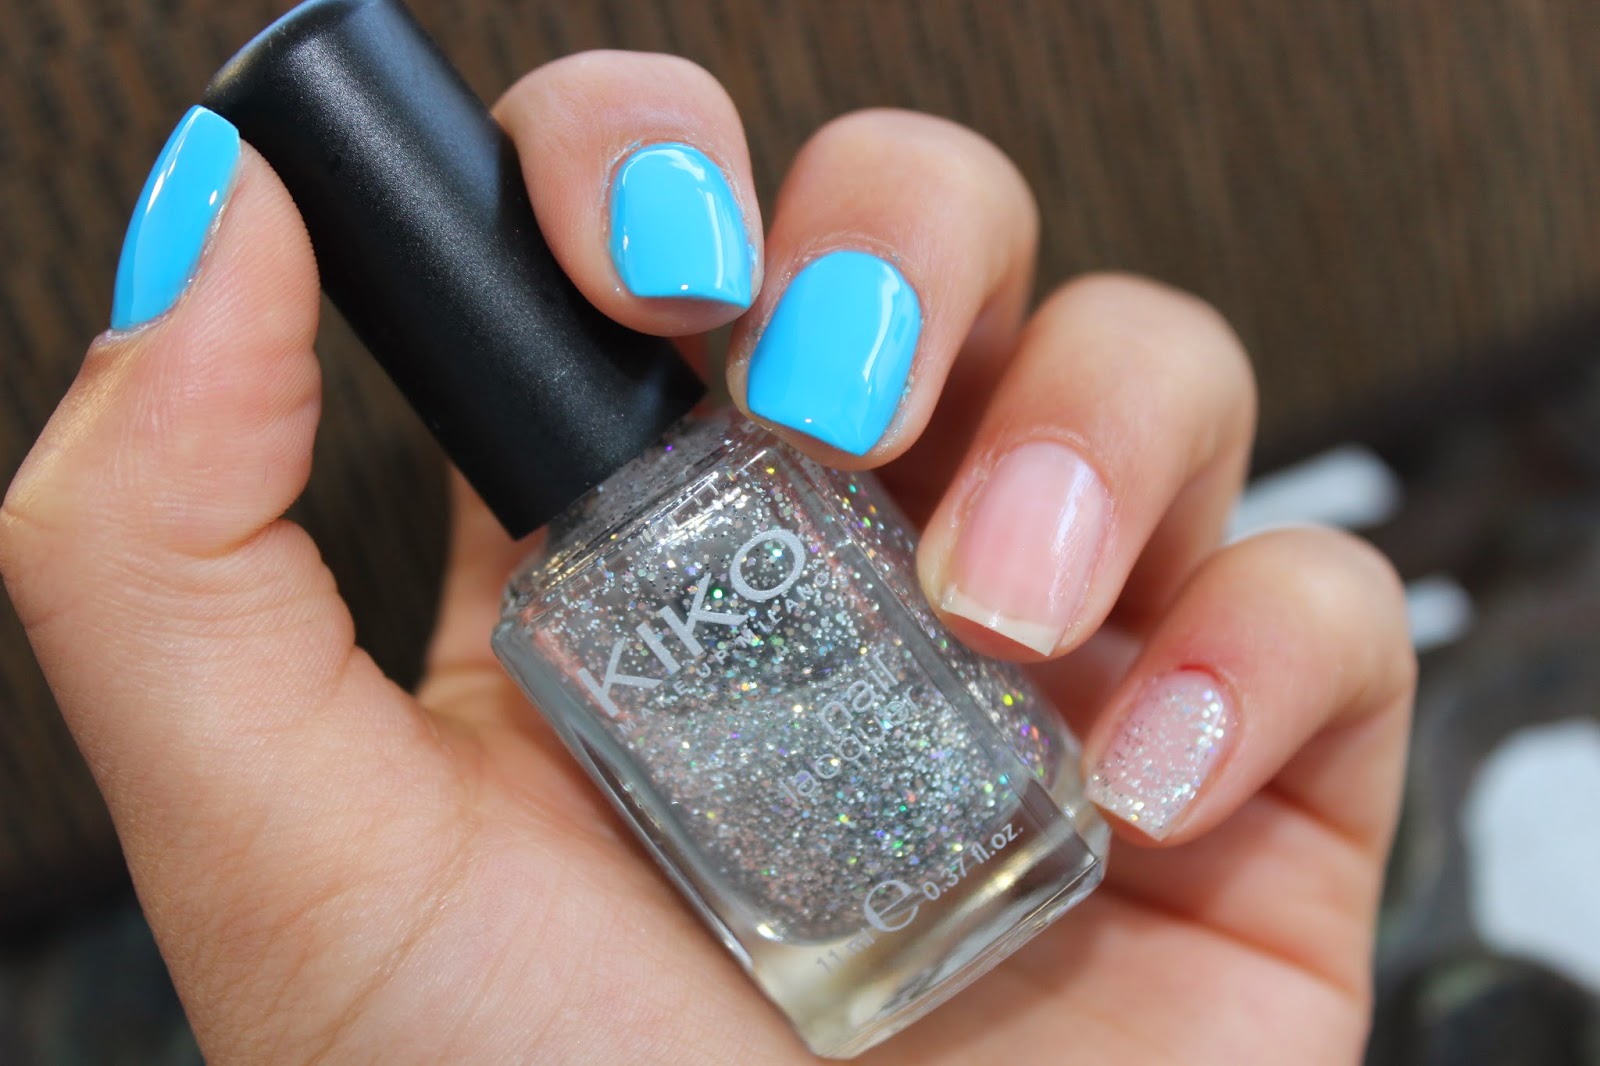
Olá minhas bonecas mais lindas! Na hora de arranjar as unhas tenho sempre o mesmo dilema "Que desenho vou fazer? O que é que vou inventar desta vez?" Para quem sofre de tal problema, têm aqui uma forma divertida, no entanto simples e super fácil de arranjar as unhas!
Hey there pretty dolls! Want to do your nails but have no idea of what design to do? Here you have the perfect tutorial! A fun but yet easy and simple nail tutorial.
Eu escolhi azuis, mas podes fazer este tipo de unha com outras cores, um verniz mais claro e outro mais escuro. Por exemplo, rosa bebé e rosa choque, verde alface e verde militar, roxo pastel e bordô, amarelo e laranja, castanho e preto.
I chose two blues, but you can chose whatever you like, a light nail polish and a dark one. For exemple, light pink and pink, light green and military green, pastel purple and burgundy, yellow and orange, brown and black.
 |
| Kiko-211 |
Começa por usar um verniz base.
Start by using a base polish.
 |
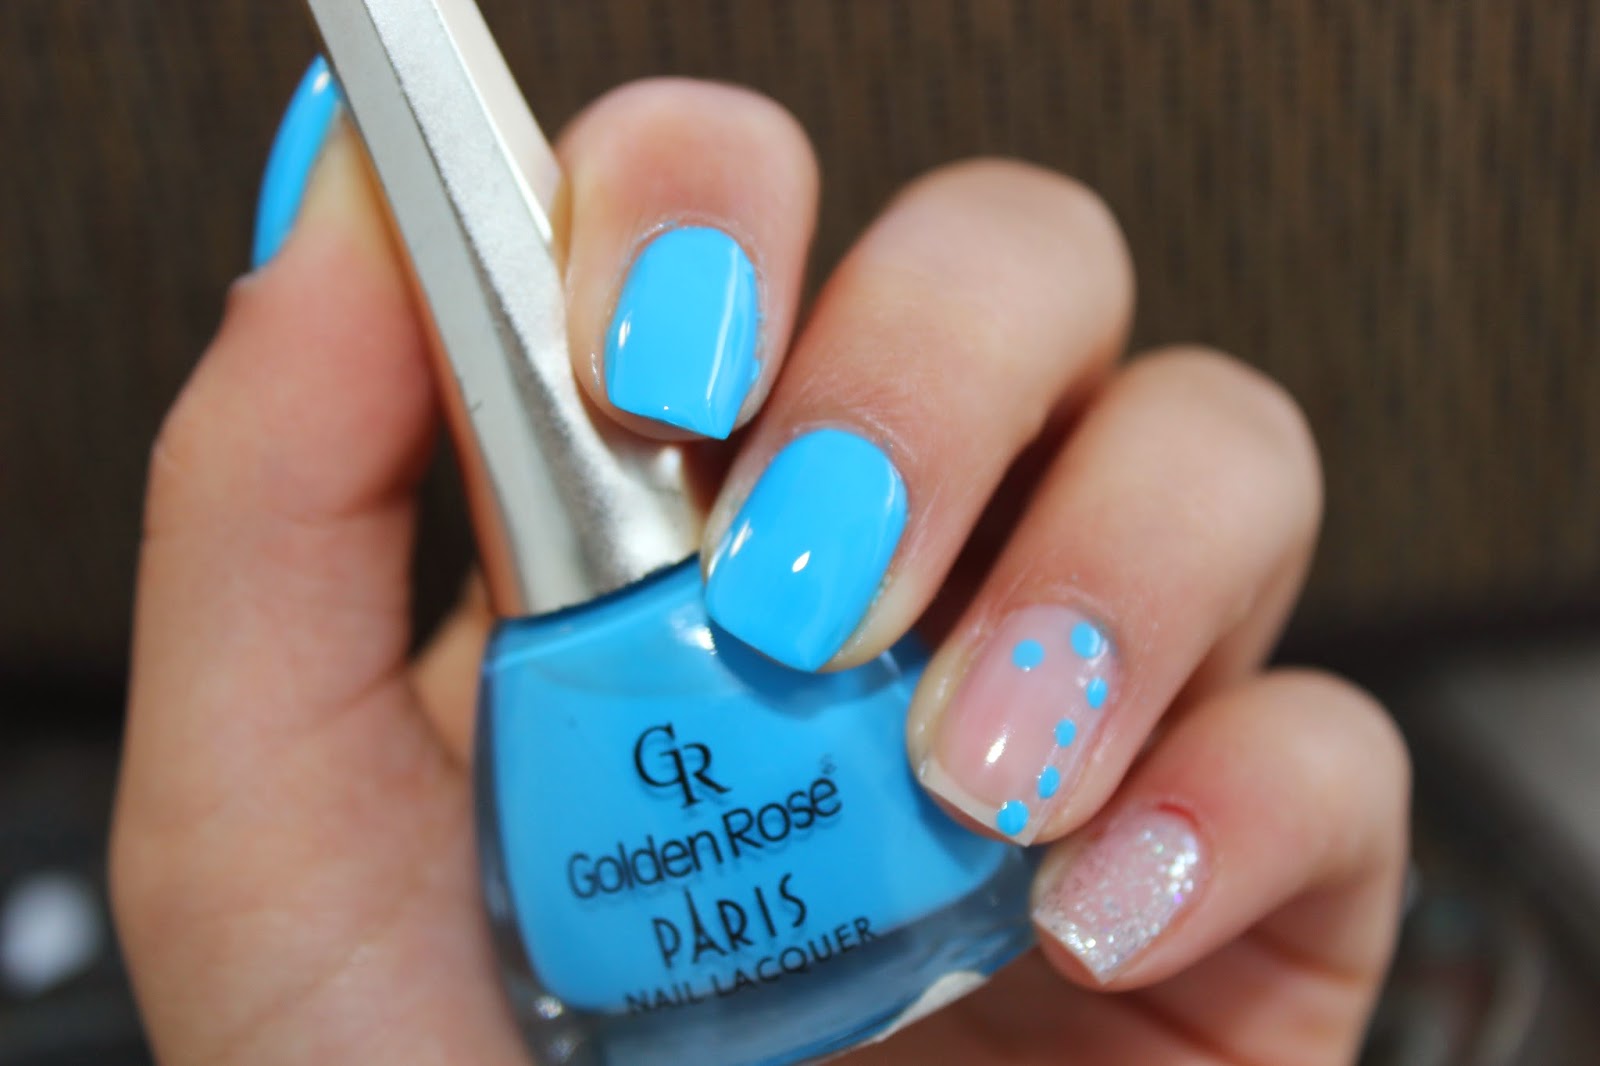
| Golden Rose-204 |
Depois pinta três unhas com o verniz azul mais claro, o polegar, o indicador e o dedo médio.
Then paint three nails with the lighter polish, the thumb, the index finger and the middle finger.
 |
| Kiko-271 |
Aplica o verniz com brilhos na unha do dedo mindinho.
Apply the sparkly polish on the pinkie.
 |
| Ebay |
Se não tens uma ferramenta destas, usa a ponta de uma caneta e/ou de ganchos, palitos, e até a estreximade de brincos.
If you do not have such a tool, use the tip of a pen and /or of a bobby pin, toothpicks, and even the edge of an earring.
Usa a ponta mais larga da ferramenta e...
Use the larger edge of the dotting tool and...
... faz alguns pontos sem cobrir a unha toda, desde o canto superior esquerdo até ao canto inferior direito.
...make some dots, without covering the entire nail, from the superior left corner to the inferior right corner.
Usando a ponta mais fina da ferramenta...
Using the tinniest edge of the tool...
... cria "paredes" em volta dos pontos ja feitos, mas sem fechar os circulos (paredes) por completo. Para te ajudar podes também ter uma imagem de padrão leopardo por perdo para te guiares.
... create "walls" around the dots, without closing the circles (walls) completely. To help you, have a leopard print image close to you, to guide you while you're doing the design.
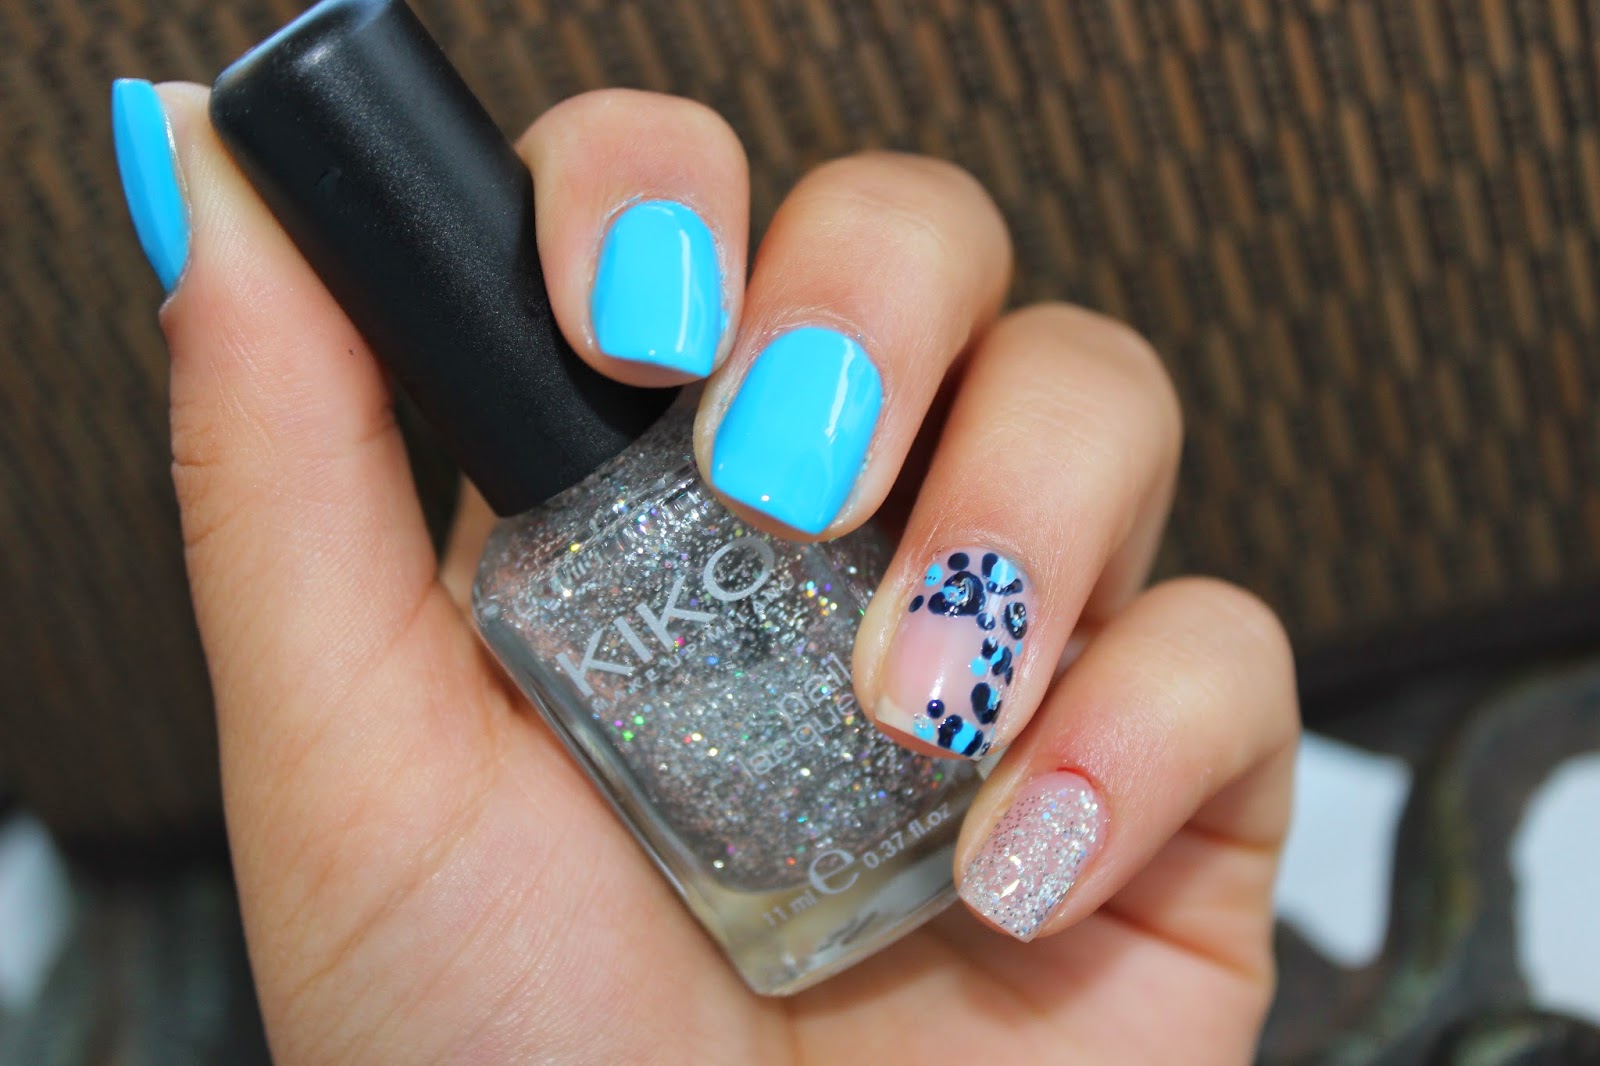
Por fim, faz alguns pontos pequenos com os dois vernizes azuis, de forma a cobrir os espaços em branco e aplica um pouco do verniz brilhante em algumas das manchas leopardescas.
At the end, make some little dots using the two blue polishes, to cover the blanks and apply a bit of the sparkly polish in some of the leopard spots.
Este é o resultado final!
This is the final result!
Espero que tenham gostado. Facilidade ao mais alto nível certo?! Recria este desenho e mostra às tuas amigas a artista que és! Aproveita e diz-lhes onde encontrar o tutorial, aqui!
Hope you liked it. The easiest thing ever, right?! Recreate this nail design and let you friends know the artist you are! And tell them where to find the tutorial, here!


Sem comentários:
Enviar um comentário